Imagine your customer visits your website or app, browses services, books appointment, apply membership and communicate.
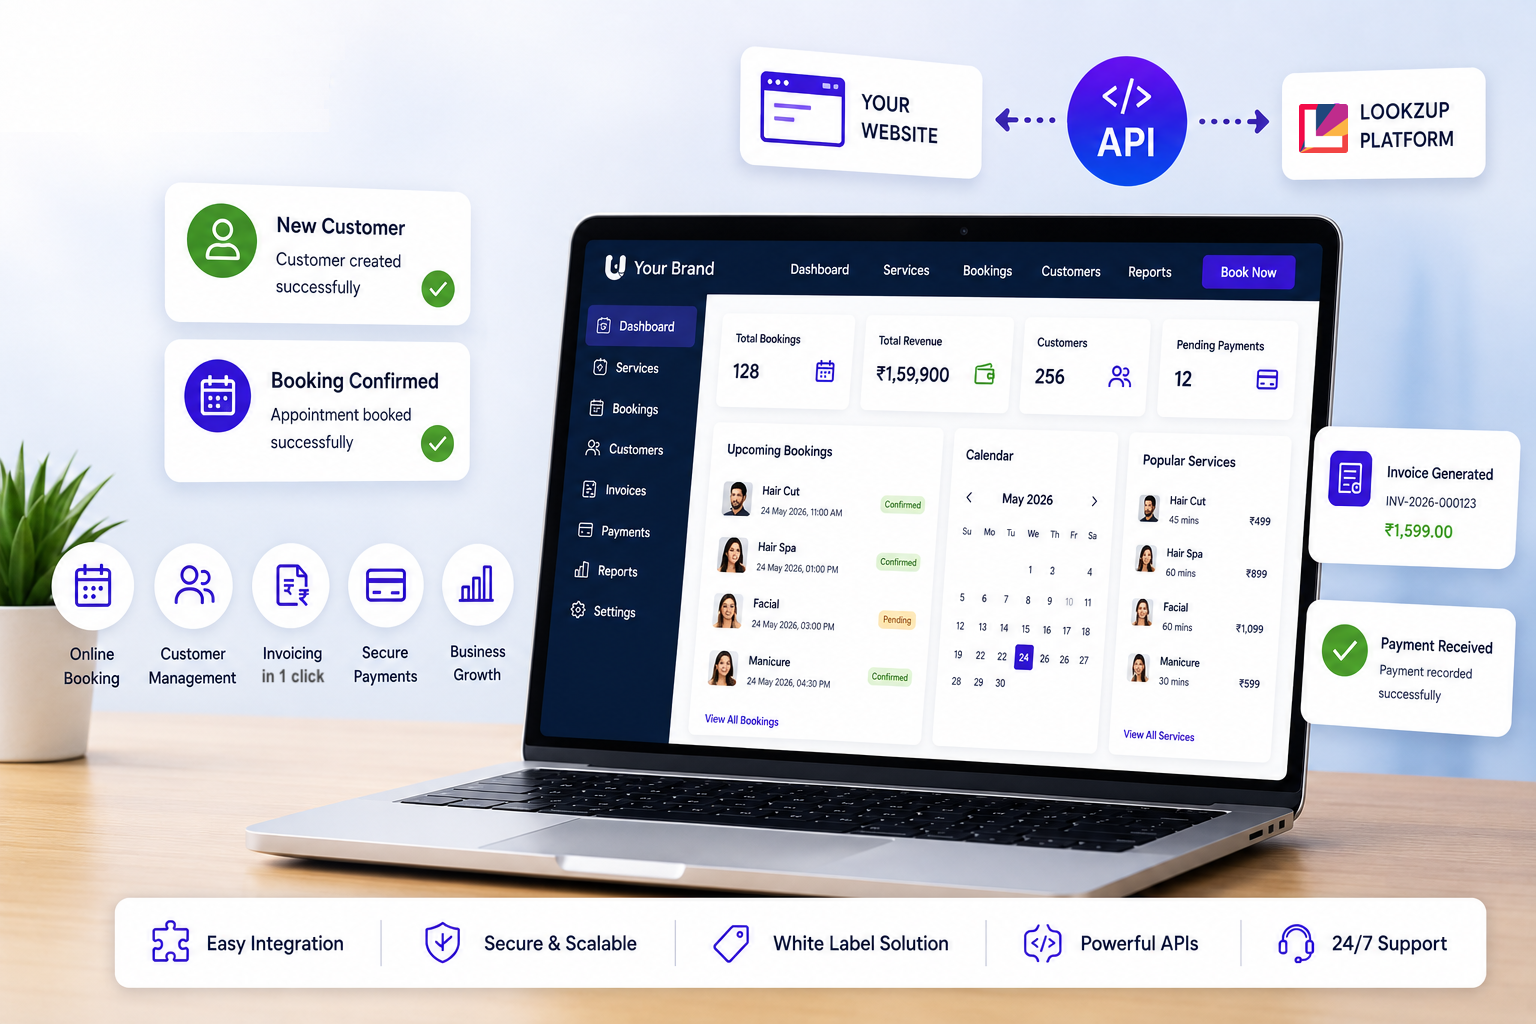
That’s exactly what LookzUp Developer APIs allow you to do. The best part? You don’t need to rebuild your website. Whether your website is built on WordPress, PHP, Laravel, React, Angular, Node.js, ASP.NET or any other technology, LookzUp can seamlessly integrate into your existing website.
In this article, we’ll explain the entire process in plain English so that even if you’re not a developer, you’ll understand how the integration works and what your developer needs to do. Even we have given ready to use copy-paste Code Snippets in 7 programming languages to use.
What is LookzUp Developer API?
Think of LookzUp as the engine behind your website.
Your customers will continue visiting your website, using your logo, your brand and your domain name. Behind the scenes, LookzUp securely handles customer registration, service management, appointment booking, membership apply, invoicing payment processing and communication. Your visitors never know they’re interacting with another platform.
What Can You Add to Your Website?
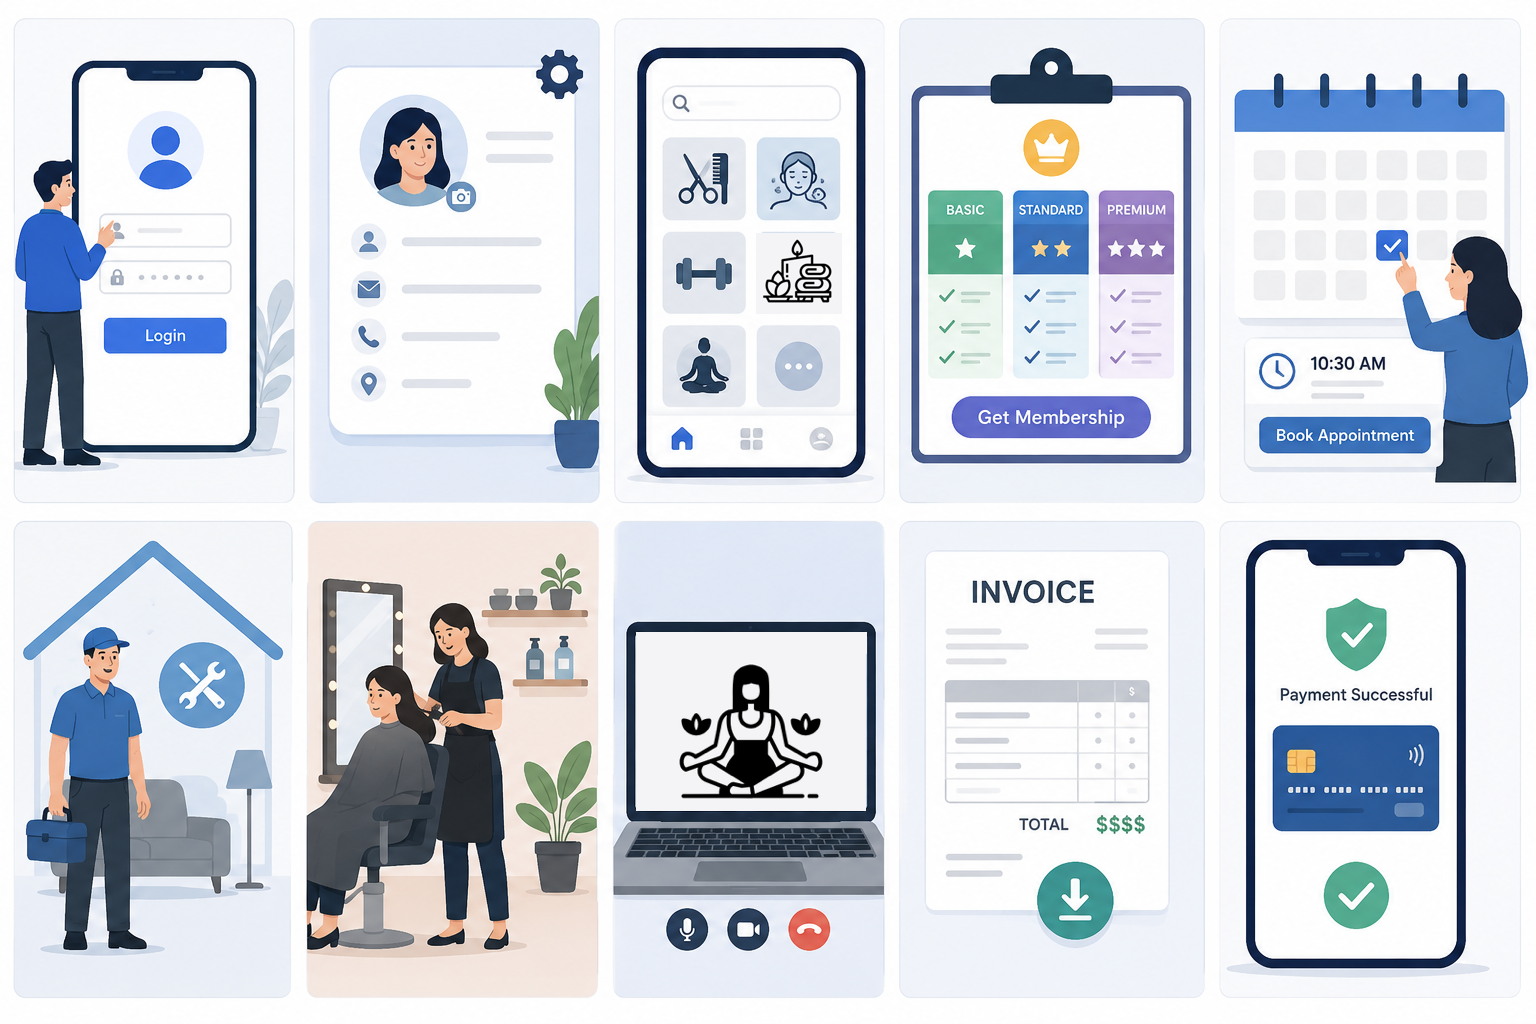
Once integrated, your website can provide:
- Customer Registration
- Customer Login
- Customer Profile Management
- Browse Services
- View Service/Membership Packages
- Online Appointment Booking
- Home Service Booking
- Shop Service Booking
- Online Consultation Booking
- Membership apply
- Invoice Generation
- Online Payment Collection
- Booking History
- Membership details
- Service or other enquiry
- Communication
All while keeping your own branding.
Step 1: Get Your LookzUp Credentials.
The first thing your developer needs is three credentials provided by the LookzUp Support Team:
- Access key
- Secret
- Tenant ID
These credentials uniquely identify your business. They should never be stored inside your website’s front-end code. Instead, they should be securely stored on your server. For example, inside an environment (.env) file.
Step 2: Authenticate Your Website.
Every secure platform first verifies who is making the request.
Your website calls the getPrivateLabelAuthToken API using your Access Key, Secret and Tenant ID. LookzUp returns an authentication token. Think of this token as a temporary access pass.
Every future API request simply includes this token instead of repeatedly sending your secret credentials. This keeps your integration secure.
Step 3: Continue Using Your Existing Customer Login.
One of the biggest advantages of LookzUp is that you don’t have to replace your existing login system. If your website already allows customers to:
- Sign Up
- Login
- Reset Password
- Manage Accounts
You can continue using it. Whenever a new customer registers on your website, your server simply calls the createBusinessCustomer API.
LookzUp creates a corresponding customer account and returns a unique UUID. Think of this UUID as the customer’s permanent LookzUp identity. Store this UUID in your own database alongside your customer’s record.
Step 4: Complete the Customer Profile.
Once the customer is created, your website can send additional information such as:
- Name
- Date of Birth
- Gender
- Phone Number
- Profile Photo
- Short Biography
using the addEditBusinessCustomerData API.

This converts the newly created customer into a fully functional booking customer.
Step 5: Display Your Services.
Now comes the exciting part. Instead of manually updating your website or mobile app every time you add a new service or membership package, simply call the getBusinessServicePackageList API. Your website automatically receives information such as:
- Service/Package Name
- Description
- Duration
- Images
- Pricing
- Discounts
- Home Service Availability
- Shop Service Availability
- Online Service Availability
- Taxes
- Currency
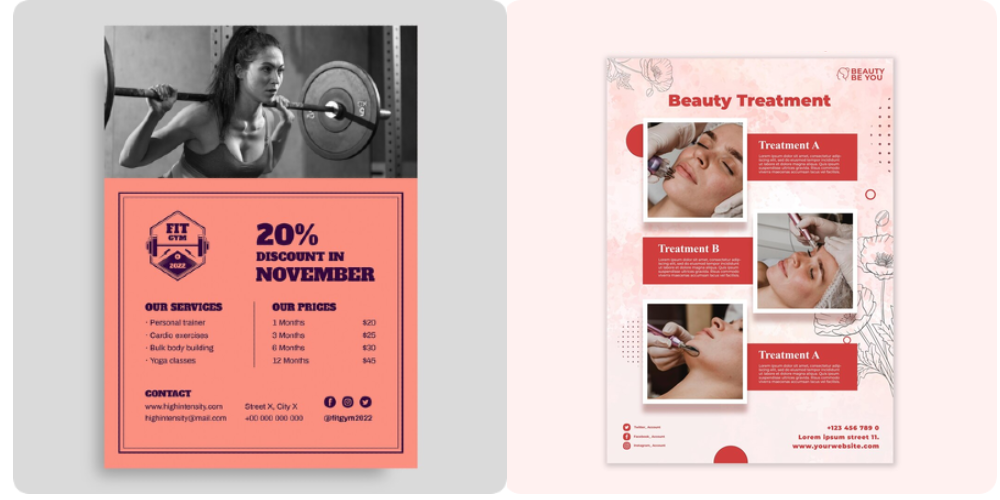
Whenever you add, edit or remove services inside LookzUp, your website or app automatically shows the latest information. No manual updates required. Whether to show only Services or only Packages, it’s totally upto you.
Step 6: Let Customers Choose Services.
For Salon, Parlor or Spa, online appointment is a must must thing. With LookzUp integration you can do this easily without compromising your branding or making any major change in your existing websiyte or app. Your customer simply:
- Opens your website or app
- Browses available services
- Selects one or multiple services
- Chooses date and time
- Selects Home, Shop or Virtual Service
- Include address (for home service)
- Confirms and done
Exactly like booking a hotel or ordering food online.
Step 7: Book the Appointment.
Once the customer clicks Book Now, your website or app sends all booking information to the createCustomerBooking API.
This includes:
- Customer UUID
- Selected Services
- Appointment Date
- Start Time
- End Time
- Address
- Total Price
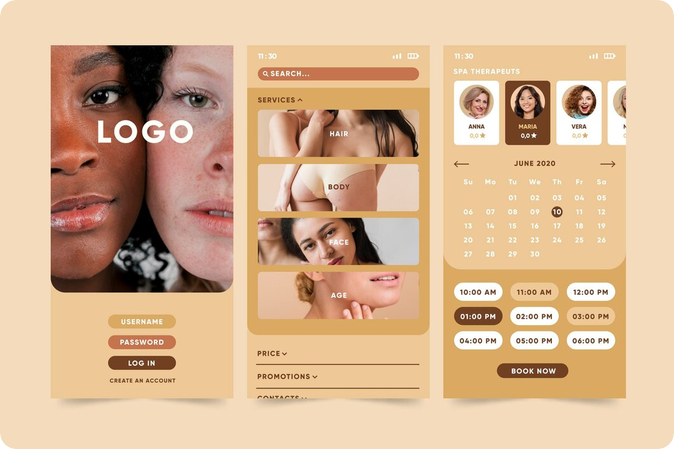
LookzUp instantly creates the appointment and returns a unique Booking Hash ID. Save this Booking ID in your own database for future reference.
Step 8: Generate the Invoice.
If your business accepts advance payments or you want to produce an Invoice, your website or app calls the createCustomerInvoice API. LookzUp automatically calculates:
- Service Charges
- Discounts
- GST
- Other Taxes
- Total Payable Amount
An invoice is generated instantly. No manual calculations. No accounting headaches.
Step 9: Collect Online Payments.
Your customer now pays using your preferred payment gateway. After successful payment, your website or app simply calls the recordCustomerPayment API.

LookzUp updates:
- Payment Status
- Amount Paid
- Due Amount
- Payment Method
- Invoice Status
Everything remains synchronized.
Step 10: Show Booking Details.
Whenever customers want to view their appointment, your website or app calls the getBookingDetails API. Your website or app can display:
- Booking Status
- Appointment Number
- Selected Services
- Customer Details
- Business Details
- Address
- Invoice
- Payment Status
- Ratings
- Reviews
Everything comes directly from LookzUp.
Step 11: Let Customers View Their Upcoming and Past Appointments.
A great booking experience doesn’t end after an appointment is created. Customers also expect to log in and easily view their appointment history. LookzUp provides a dedicated getCustomerBookings API that retrieves all appointments associated with a customer account. This enables you to build a My Appointments or Booking History page directly into your website or mobile app.
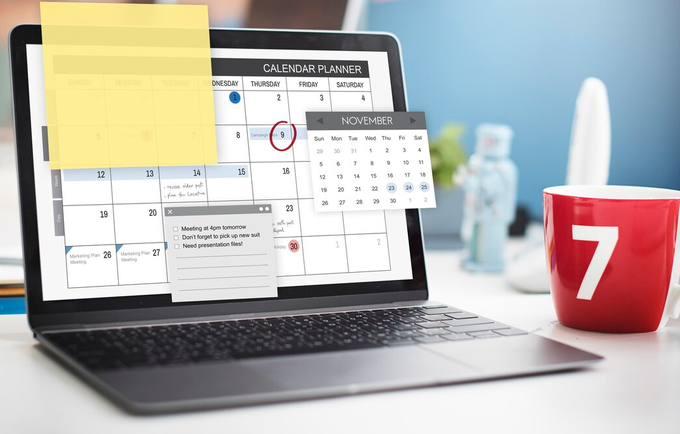
Whenever a customer logs in, your website or app simply calls the getCustomerBookings API using the customer’s unique UUID. The API returns a paginated list of appointments, making it suitable for customers with many bookings. Your website or app can display information such as:
- Appointment Number
- Booking Date
- Appointment Time
- Booking Status
- Payment Status
- Amount Paid
- Booking Reference ID
Because the API supports pagination, you can easily build an appointment history page that loads bookings in batches—for example, five, ten or twenty appointments at a time — providing a smooth experience even for long-time customers.
Step 12: Let Customers Apply for Membership.
Whether you run a gym, fitness centre, yoga studio or wellness clinic, today’s customers expect everything to happen online. They want to:
- Join a membership from your website.
- Ask questions without making a phone call.
- View their membership details anytime.
- Track their requests without visiting your business.
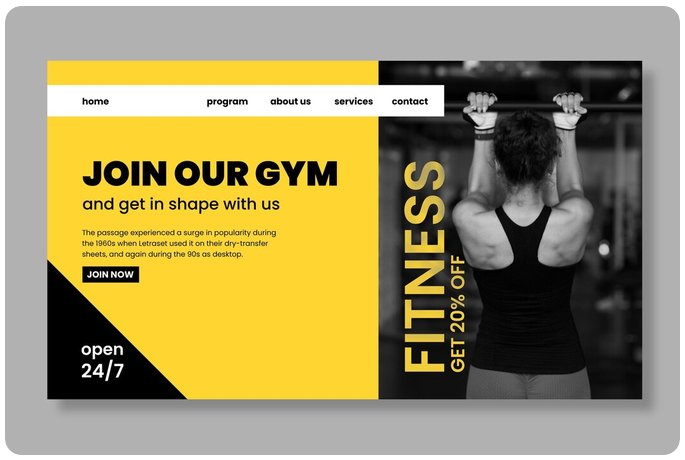
The createMembershipRequest API allows your website or mobile app to submit a new membership request. The customer enters information such as:
- Name
- Mobile number
- In-premise/Home/Virtual service
- Notes/query for the business
- Preferred days and timings
- Membership package(s)
- Preferred joining date
The response may even include reward points earned by the customer, allowing you to run attractive loyalty programs automatically. Once a membership request has been created, customers naturally want to view it. Instead of asking them to call your reception desk, your website or app can simply retrieve the list of requests, request details with latest updates by using getMembershipRequestList and getMembershipRequestDetails APIs.
Step 13: Show Membership Data Inside Your Website or App
If membership granted, customer can see the full membership data in your own website or mobile app. Your customers can see:
- Profile data
- Membership status
- Membership start date
- Membership fee
- Amount payable
- Coupon discounts
- Assigned trainer or staff
- Membership validity
- Included services
- Weekly schedule
- Wallet balance
- Reward points
This creates a professional self-service experience similar to large international fitness or salon brands. All of thses can be acheived by using getMembershipDetails API.
Step 14: Let Customers post a query.
Not every visitor wants to purchase immediately. Sometimes they simply have questions. Instead of asking customers to call, your website can provide a simple enquiry form. Once the customer presses Submit, the enquiry reaches your business instantly. Every Enquiry Is Properly Recorded. Unlike emails or WhatsApp messages that can get lost, every enquiry is securely stored. Nothing gets missed. You can do this by using createServiceEnquiry API. In LookzUp Busniess Dashboard, you or your employee can see the query instantly. You can see:
- Customer name
- Phone number, Email
- Message
- Date submitted
- Service mode
- Business information
- Business reply
- Progress status
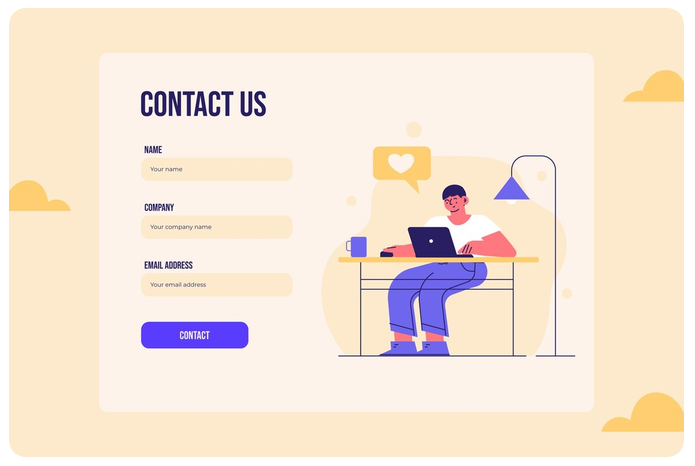
After submitting an enquiry, customers may wonder: “Did the business receive my message?” Instead of calling your staff, your website or mobile app can display the enquiry lists and details. Customers can see:
- Their original message
- Date submitted
- Reply from the business
- Current progress
This creates confidence and improves customer satisfaction. Your developer can use getCustomerServiceEnquiries and getCustomerEnquiryDetails for these purpose.
Is This Only for Developers?
Not at all.
As a business owner, you don’t need to understand every API. Simply share the Developer API docs with your developer. Most experienced web developers can complete the initial integration in a single day because the APIs follow a straightforward REST architecture. Once completed, you’ll have a professional online booking platform running directly from your own website.
Frequently Asked Questions:
1. Do I need to rebuild my website?
No. LookzUp integrates with your existing website.
2. Can I continue using my current customer login?
Yes. LookzUp works alongside your existing authentication system.
3. Does LookzUp support online payments?
Yes. Invoices can be generated automatically and payments can be recorded after successful transactions.
4. Can customers book multiple services?
Yes. Customers can select multiple services within a single appointment.
5. Is LookzUp suitable for mobile website or app?
Absolutely. The APIs can be integrated into responsive websites, mobile applications and desktop portals.
6. Can I customize the booking interface?
Yes. The APIs only provide the backend functionality. Your developers have complete freedom to design the user interface according to your brand guidelines.
Final Thoughts.
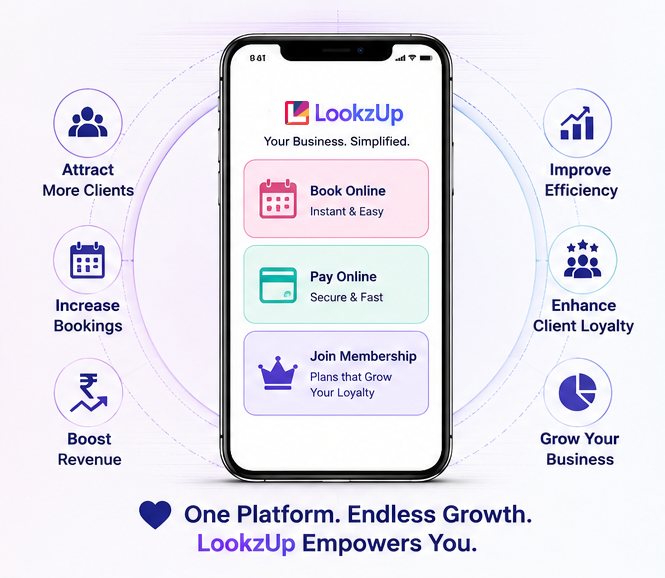
Customers today expect businesses to provide seamless online booking and membership experiences. Whether you’re running a gym, salon, wellness clinic, yoga, fitness centre, spa or any appointment-driven business, offering instant booking, membership apply and digital payments is no longer optional — it’s an expectation.
LookzUp helps you deliver that experience without rebuilding your website or app by investing months in custom software development. With secure authentication, customer management, appointment scheduling, membership management, invoicing and payment support available through easy-to-integrate APIs, you can launch a modern booking experience while keeping full ownership of your brand and customer relationships.
Instead of spending months building complex backend systems, focus on growing your business while LookzUp powers the technology behind the scenes.
Ready to Get Started?
Contact the LookzUp team to obtain your Access Key, Secret and Tenant ID and let your developers integrate a complete online booking ecosystem into your existing website. Write an E-mail to support@lookzup.com or raise a Support Ticket from LookzUp Business website or LookzUp Business mobile app .
Within a short time, your business can begin accepting appointments, membership, generating invoices, managing customers and collecting payments — all under your own brand. For a details understanding on LookzUp API integration, see the Developer Documentation website.